Showing posts with label Food. Show all posts

Tuesday, September 27, 2011

Tin Foil Dinners!!

I love camping and I LOVE tine foil dinners. Over the years we've perfected (at least in our minds) the tin foil dinner. It's just the standard ground beef, carrots, onion, and potato but taken to another level. Mmmmm...
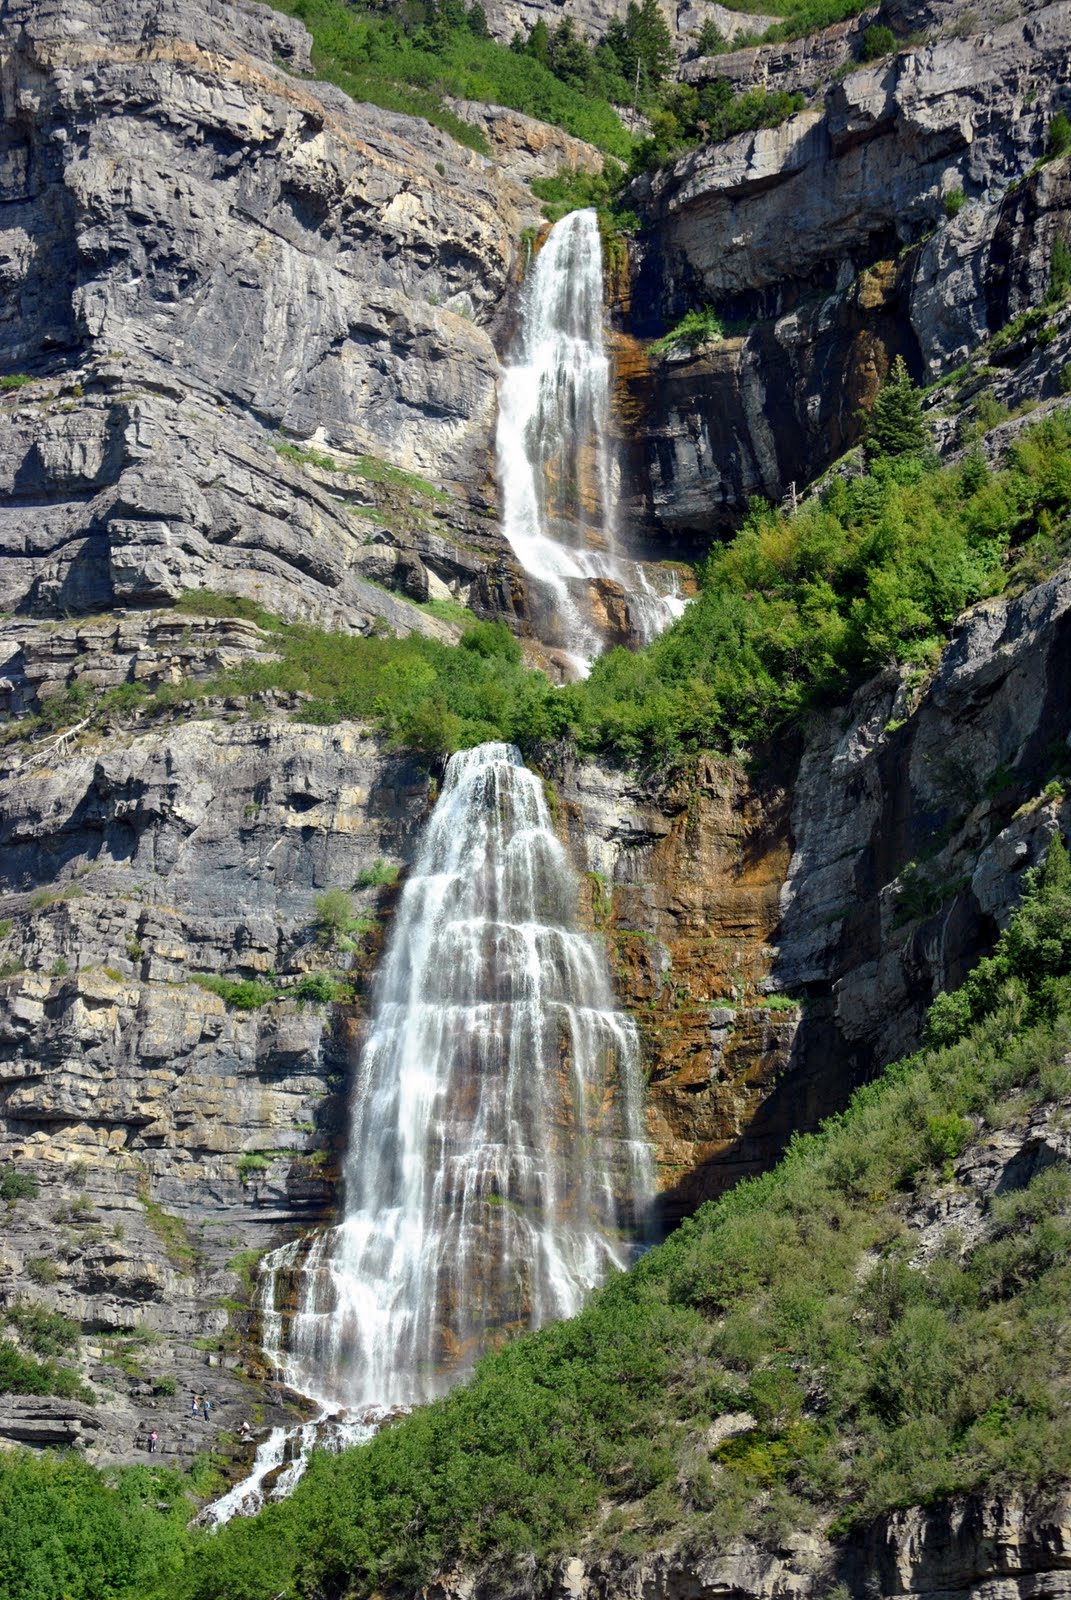
So we headed up to our spot in the upper bridal veil falls right by the river with my fam.
Look at my cute sister.
And my cute BIL.
The kids had SO much fun running around getting dirty and if you know Etta you know there's nothing she loves more than picking flowers. Everywhere we go (church, grocery stores, neighbors) she wants to pic the flowers and I won't let her. So when I told her she could pick as many as she wanted she was in heaven.


And this all boy, boy of course didn't want to pick flowers...he just wanted to throw around the pigskin.


Every one sat around enjoying themselves...
while I slaved over the fire...;)
Which made my feet look like this. Who wears flip flops? I actually love it though. Usually I don't get to let the pyro in me come out because Rob takes over fire duty, but he met up with us later so someone had to get things movin!
All of the bubbling sizzling gloriousness.
Rob testing the delectations.
Grammie
Papi
Awww...while Rob was gone for three weeks this picture brought Liam to tears from missing his dad so much and remembering the good times! I really think he thought Rob was never coming back! :(
Preggos preggos.
Kurt so strong man.

We had so much fun and can't wait to do it again again. There's nothing better in my book than being outside, with no distractions, good food, and family.

Saturday, June 18, 2011

Tour de Utah: Mountain West Burrito

If I were to tell you there was a great little restaurant in an old abandoned gas station that now shares it's space with a smoke shop would you try it?

Well there is, and you should.

It's called Mountain West Burrito. This place is absolutely delicious. It's fresh, local produce enhances the great flavors of their vegetarian friendly (but not limited to) menu.

I got the crisp taco, which was delightful. I'll tell you what I was eyeing though...the chicken nachos looked amazing and did not disappoint. They were delectable.

The meat was moist and juicy, the tortillas fresh and delish. From what I could tell everyone in our party was extremely satisified.

How good does that look?

Now if all of that wasn't enough, the owner seems like a great guy and delivers awesome customer service, everything is under $10, and you'll be supporting a local business.

How does it get any better? I submit that it does not.

So if you want some solid Mexican food head over to Mountain West Burrito on 1796 North 950 West in Provo Utah (right off state coming down the hill from Orem) and enjoy!
If you check in with face book they'll even give you a free chips and salsa which guess what? They're awesome too...go figure.

Friday, May 27, 2011

Tour de Utah: Slab Pizza

Coach and I (and a few choice friends) have started a eating tour of Utah.
This started a while back as a result of gathering to visit one of our recent favorite finds.
We started thinking we should pick places around the valley, lesser known, (preferably cheap) rare find kind of joints, try them together and rate them accordingly.
We've been to a few now and I feel like I need to start documenting my thoughts to share with all of you.
So starting with our first stop...Slab Pizza.
How I love thee, let me count the ways.
There's been a lot of hype about Pizzeria 712, and as much as I love the Heirloom Family of Eateries I haven't been blown away by much of anything but the price at 712.
If you know me you know that I love good food and know good food.
I will never steer you wrong.
So the name Slab refers to the way it's served in slabs instead of slices. They only come in one gigantic size which equals a quarter of the pizza. Mmmm...so take a posse and share a variety of flavors amongst the group.
Slab has a diverse menu of classic favorites and funky new combos.
I of coarse was loving me some Veggie/Pepp/Sausage and the Hawaiian (which you can get with SPAM btw, not that I would...yuck) but that's boring so here's what you really need to try...
Rosemary, Potato, + Bacon, Pulled Pork, or maybe some Buffalo Wing Pizza (a favorite among the men).
You won't be sorry.


Their chill atmosphere, fresh local fare, good prices, ever changing specials menu, and quite possibly the best pizza crust I've ever had will get you returning again and again.
They are located at 669 East 800 North in Provo just east of the duck ponds tucked down and around the corner from JDawgs (another cult provo fav).
So check it out and check back for our next stop of the Tour de Utah.
Come join us or post where you think we should go...

Sunday, May 1, 2011

So a couple months ago I realized I had never made ribs for coach. Seeing that it's one of his favorite things, I had to rectify that. So I got straight to work.
Ribs#1: Terrible. The rub was way too salty and I used too much. I tried reducing my braising liquid for sauce but it was too strong and too thin. I was disappointed but coach still ate them so...
Ribs#2: Better. Great in fact. Made my own separate sauce. Minor tweaking needed.
Ribs#3: Delightful. Unbelievably tender but stayed on the bone. Nice char on the outside. Sweet, spicy, sticky sauce. Mmmm...

If you know my husband you know that he thinks I am the best at all things food and has to share that with the world. So he invites everyone over to try "the best ribs ever!"
So nice to be appreciated.

Along with the ribs I made cornbread, coleslaw, and mashed potatoes.
I've made cornbread from scratch a lot but Marie Calendars packaged mix remains my favorite. It's so good! Just don't over cook it and I've even added sour cream for moisture.
For the slaw I made a riff on something I saw on food network. It was cabbage, bacon, and green apples in a lime vinaigrette with Indian inspired spices. Sooo good, and I don't even like slaw.
Mashed potatoes I did my usual gold yukons, skin on, with tons of butter and cream. :)
Oh and of course honey butter, you cannot forget that. I used this local orange blossom honey.

In other news, my friends Stephanie and I started trading sitting every week. I take her two kids from 10-12 and she takes mine from 12-2 or vise versa. If you're are not currently doing this, you should. It's awesome. Just to get some errands done, clean your house, go shopping, or get your hair done. Thanks Steph!

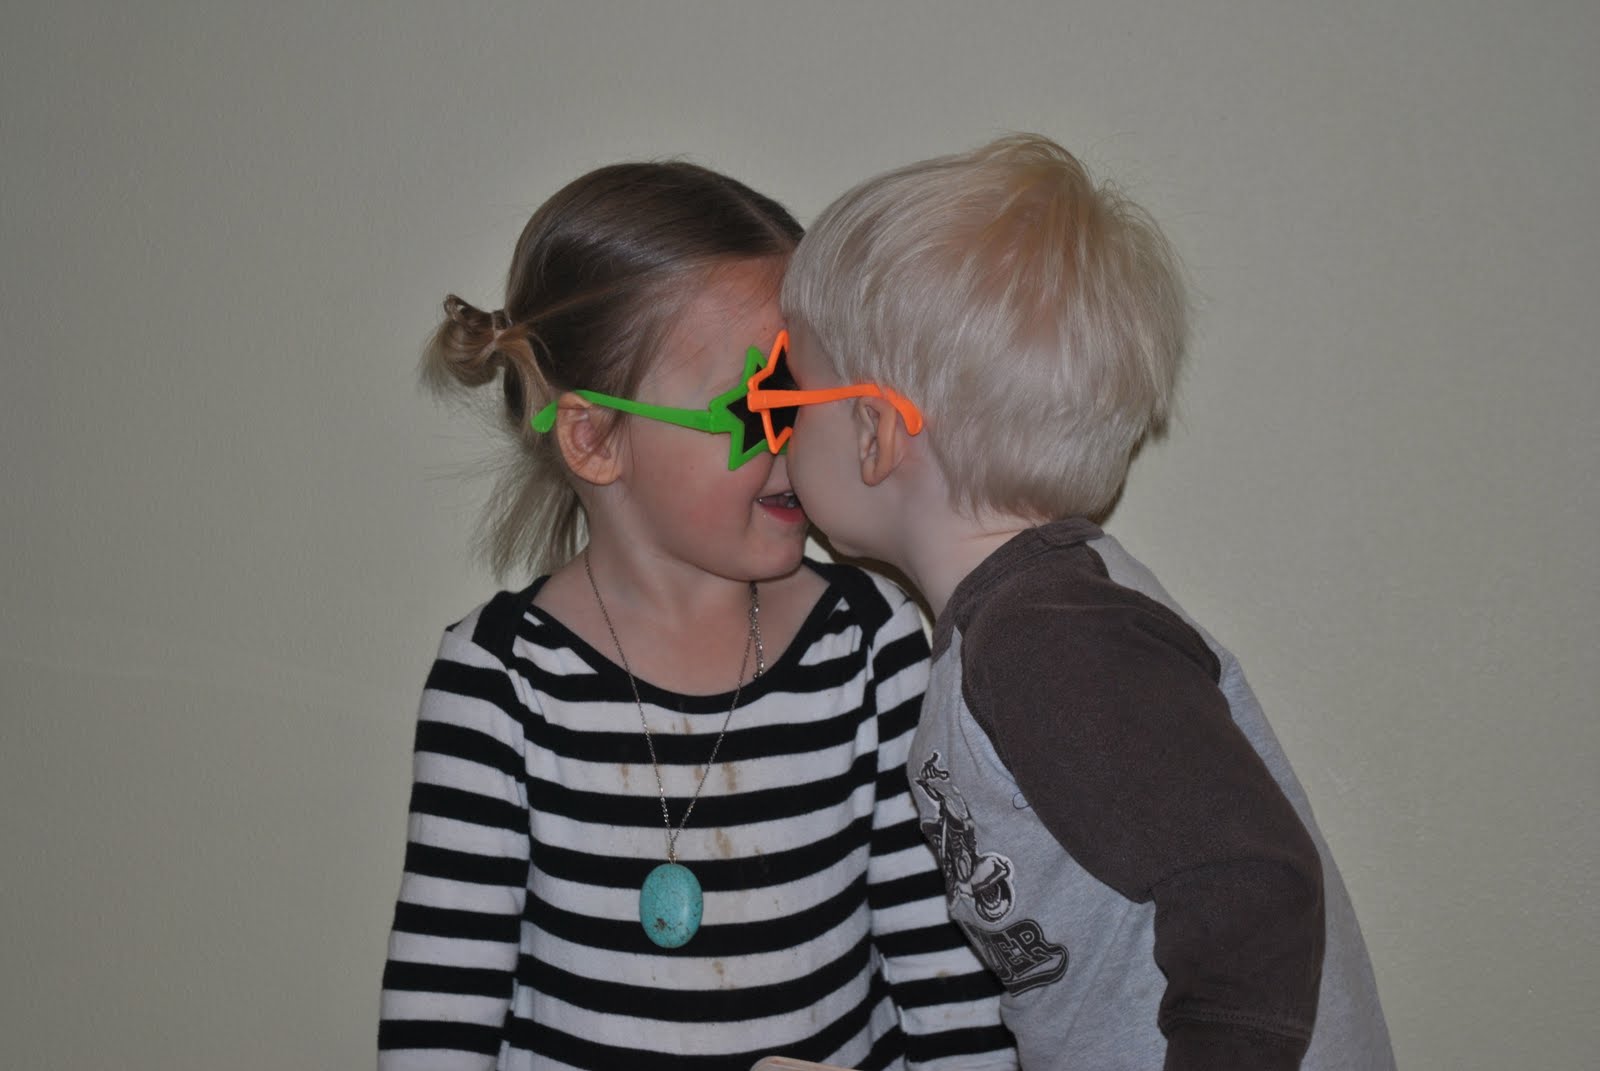
The kids have so much fun together...


They thought they were pretty hilarious with these matching glasses on. They kept putting their heads together and laughing hysterically when their glasses would touch.

This month was also really fantastic because I got to follow coach down to Pepperdine without my kiddies! A huge, huge thank goes out to my MIL Margaret. She stayed here with the kids for the weekend while I enjoyed swimming, sleeping in, nice weather, eating at great restaurants, shopping, uninterrupted volleyball watching, and loads of time with my favorite guy ever and his 15 goofy and lovable little brothers. ;) I had such a fun time with the team but of course took no pictures like a buster!
Oh, well. :) The memories will stay with me in my mind.

Tuesday, November 23, 2010

Salmonella is not a good side dish.

This is the stuffing I'm making...that ironically will not be stuffed anywhere (i'm doing a half recipe because my mom is making a half batch of hers).
  • 1 1 1/2-pound loaf sliced sourdough bread with crust, small dice (I will use a few different types of bread i.e. french, sourdough, challah, whatever looks good)
  • 1 1/2 pounds sweet Italian sausages, casings removed
  • 1 1/2 pounds hot Italian sausages (I'm only using Costco's mild italian sausage. It's the best)
  • 6 cups chopped onions
  • 2 cups chopped celery
  • 3/4 cup (1 1/2 sticks) butter, divided
  • 3 pounds Pippin or Granny Smith apples, peeled, cored, cubed
  • 2 pounds parsnips, peeled, cubed
  • 3/4 cup packed fresh sage leaves
  • 1/2 cup low-salt chicken broth (I will add more or less stock depending on how dry my bread is. You want it to be pretty soggy before baking because the bread will just suck up all that moisture like a sponge).

Preparation

Preheat oven to 325°F. Bake bread cubes on 2 large rimmed baking sheets until lightly toasted, about 20 minutes. (or you can cut them and leave them to dry out over night)

Sauté sausages in very large skillet over medium-high heat until cooked through, breaking into pieces with spoon, about 15 minutes. Using slotted spoon, transfer to large bowl; add bread.

Add onions and celery to same skillet and sauté until golden brown, about 10 minutes; transfer to bowl with bread. Melt 1/4 cup butter in same skillet over medium-high heat. Add apples and sauté until tender, about 8 minutes; mix apples into stuffing. Melt 1/4 cup butter in same skillet over medium-high heat. Add parsnips and sauté until golden, about 10 minutes; mix into stuffing. Melt 1/4 cup butter in same skillet. Add sage and sauté until dark green, about 2 minutes. Mix sage and butter into stuffing. Season with salt and pepper.

Butter 15x10x2-inch glass baking dish. Stuff turkey. (You all know I'm not stuffing my turkey. Sacrilege.) Transfer remaining stuffing to prepared dish; drizzle with 1/2 cup chicken broth. Cover with foil. (Can be prepared 4 hours ahead. Cover and refrigerate.)

Preheat oven to 350°F. Bake stuffing covered until heated through, 45-60 min. Uncover and bake until beginning to brown, about 10 minutes.

Turkey Revisions and or Additions

Okay so I have a few more things to say regarding this turkey.
I've had some questions since this post and remembered somethings I forgot to mention for first time briners.

Why should I brine? How does it work? What does it do? (these types of questions)
Other than, "because I said so..."

The salt solution passes through the permeable meat cells during the soaking process using the method of osmosis. Osmosis is the diffusion of water through a semi-permeable membrane - in this case the meat cells. Through diffusion, the salt and water within the meat cells balance with the salt and water in the surrounding brine which results in a higher concentration of salt and water in the meat. Food chemists disagree about the mechanics of this diffusion and how salt travels across membranes, but at the end of the day, the diffusion results in more water and flavor within the cells of the meat. The high concentration of salt also denatures protein strands. In their normal state, the strands are tightly wound; denatured strands unwind and tangle. During cooking, this unusual structure traps water molecules and holds onto them. The end result of this osmosis is less moisture is lost during cooking.

Are you asleep yet?

In layman's terms: Salt retains water+salt invades meat = moist, flavorful turkey

A few more key points:

1. Don't stuff your turkey. I know this is a great debate and a possible deal breaker for some of you but hear me out. Other than it being a cesspool of germs, a messy pain, and a recipe for soggy stuffing, it won't work so well with this process. You miss out on the aromatics completely, it affects the cooking process, and the saltiness could affect your stuffing. Bake it in a pan. If you want it more moist (soggy like we're used to ;) add more chicken stock.

2. You must have a probe thermometer. A digital reader with a little cord attaching to a probe that can be left in during cooking. Not only is this essential to your turkey success, it's a good investment for your roasting future. You can put it in and leave it in so you're not leaving a gaping whole for juices to spill out of (don't take it out until turkey is done resting!). Also many have alarms so you don't have to wait around baby sitting your birdie.

3. When you insert the probe make sure it's in the thickest part of the breast. Not in the dark meat. Not in the cavity. If it has a pop up thermometer ignore it but don't remove it. It would just be another gaping hole for juices to escape. And I know the temperature seems low but it will keep cooking after you remove it! Trust me. That was based on a 20 lb bird so if yours is smaller, sure cook it a few more degrees. But remember you can always put it back in if it doesn't reach 165 but you can't undo what you've already done. With all of that said, don't stress! I over cooked my bird last year and it was still the juiciest we've ever had.

4. I was going to write a whole gravy post but then I happened on the pioneer woman's site and she's got a great pictured "how to" on gravy with brined turkey that shows exactly what I would've done any how, giblets and all. So hop on over there. I may just finish mine with a little brandy and cream but otherwise she's spot on.

5. Email or text me with your questions...even on thanksgiving morning and I'll walk you through it. And please, let me know how it turns out.

Tuesday, November 16, 2010

Let's Talk Turkey

I'm just going to come out and say with no false modesty that I make the most amazing turkey on the face of the earth. I can say this without being a pompous jerk because I do not take full credit for my success. I will now explain.

Have you been plagued personally or in your family by dry turkey that needs an unholy smattering of gravy to stomach? Enter Alton Brown. Sweet, sweet Alton...how I love thee. Last year I used Alton Brown's cooking method for roasting a turkey and it was absolutely phenomenal.

However, I did used my own concocted twist on his brine and aromatics.
This year I'm going to do it again but I'm going to try a different brine and gravy method. So, let me tell you how to make the most wonderful turkey in the history of the world.

You begin by getting one of these babies who so graciously give their lives for our stomachs.

Fresh would certainly be preferable but frozen is great too. Frozen does however come with a warning. Do not by any frozen turkey that's been injected with a salt solution or anything of the like. This would be a very bad combo with a brine. Also note that a frozen turkey will take 2-4 days to thaw. Now for the preparation of said turkey lurkey.

Open 'er up and take out the unmentionables. Now if you are like my mother you will save these for a little morsel to snack on later. You can also use it to make a fine gravy and that's just what I'm gonna do so take those nasty things and set them aside...we'll deal with them later. Then give the old bird, ha...a really good rinse inside and out.

Now you're ready for the brine. Alton uses this one...


Brine: (for a 14-16lb turkey)

  • 1/2 cup light brown sugar
  • 1 gallon vegetable stock
  • 1 tablespoon black peppercorns
  • 1 1/2 teaspoons allspice berries
  • 1 1/2 teaspoons chopped candied ginger
  • 1 gallon heavily iced water
Which I used last year with a few changes (which I don't remember of coarse, I kinda fly by the seat of me pants) and it was great. This year I have decided to go with this:

Brine: (for a 20lb turkey)
3 cups Apple Juice
12 cups chicken stock (no or low sodium if using broth!)
5 cloves garlic, minced
1 1/2 cup Kosher salt (careful I'd only do 1 cup if using salted broth)
2 Cups brown sugar
3 tbsp peppercorns
5 whole Bay Leaves
Peel of three large oranges
1 gallon ice water

Now I tell you how large these are because if your turkey is significantly smaller I would take down your salt ratio a bit or scale down the whole recipe.
Okay so when I do my turkey I brine it in a canning pot like this:

It fit my turkey beautifully and already had it. I'm sure it would fit in my fridge but it takes too much room. So since I live in Utah I just give it a once over in saran wrap and put it on my porch...it's usually cold enough.
Another option of coarse are brining bags or just XL plastic bags. If you go this route it may fit nicely in one of your refrigerator drawers and save on space.

To make the brine (most methods are simple and practically the same):
Pour all the ingredients except ice water in a pot and heat until sugar and salt are completely dissolved. Bring to a boil, remove from heat, cover, and let cool. This can be made ahead of time and stored. 12-24 hours before it's time to cook the bird combine the brine, ice water, and turkey in your vessel breast down. Flip it half way in between to be sure it all gets covered.

When it's done brining rinse it in cold water like you have never for rinsed before...inside and out, every nook and cranny, for like 5 minutes. This helps it not be so super duper salty.

Now you are ready to roast. To prep the turkey you need to get it dry, dry, dry so your skin can get crisp, crisp, crisp. Place the turkey in a roasting pan with a rack.

Combine 1/2 an apple, 1/2 an onion, and 1 cup of water in a microwave safe dish and microwave on high for 5 minutes. Add steeped aromatics to the turkey's cavity along with 4 sprigs rosemary and 6 sage leaves. Tuck the wings underneath the bird and coat the skin liberally with canola oil.

Roast the turkey on lowest level of the oven at 500 degrees F for 30 minutes. Insert a probe thermometer into thickest part of the breast and reduce the oven temperature to 350 degrees F. Set the thermometer alarm (if available) to 152 degrees F. A 14 to 16 pound bird should require a total of 2 to 2 1/2 hours of roasting. Let the turkey rest, loosely covered with foil or a large mixing bowl for 15-20 minutes before carving.

Okay, so be prepared for your grandma, mother, and everyone you know to say that your turkey wont be done after only two hours. Pay no attention to the nay sayers behind the curtain! It's all about the temp not the time. Now you may think 152, that doesn't sound hot enough...but there is a little something called carry over cooking which means it keeps cooking even once it's out of the oven. The bigger the bird the more the carry over so...You just want to be sure it comes up to about 165 degrees F before cutting.

Did I miss anything? Did I mention this is going to be the best turkey you've ever made, eaten, or heard of? I implore you to try it.

Please comment with any questions or what you do. And please check back for my gravy, sides, and dessert.